
Beautiful Seashell Picture Frames: DIY Ideas & Coastal Decor Guide (2026)
There is something about seashells that instantly brings the feeling of sand between your toes and salt air into any room. Seashell picture frames capture that same coastal magic, turning ordinary photographs into charming keepsakes that celebrate beach trips, family memories, or simply your love of the ocean-inspired aesthetic. Whether you are displaying a photo from last summer’s vacation or dressing up a nursery with soft coastal charm, seashell picture frames are one of the easiest and most rewarding DIY projects you can take on.
In this guide, we will walk through everything you need to know about seashell picture frames from choosing the right shells and materials, to step-by-step instructions for making your own, to styling tips that will help these frames shine throughout your home. Whether you are a seasoned crafter or picking up hot glue for the first time, you will find plenty of inspiration here.
Why Seashell Picture Frames Are a Timeless Decor Choice
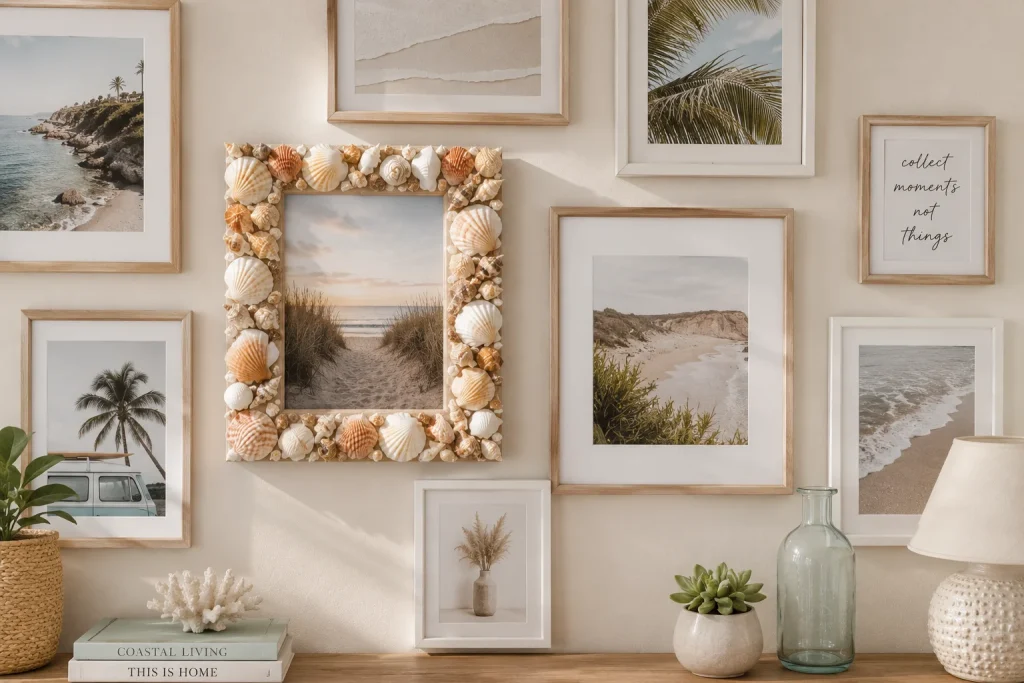
Seashell picture frames have remained a beloved decor staple for good reason. They are affordable, endlessly customizable, and carry a sense of nostalgia that mass-produced frames simply cannot replicate. A frame made from shells you collected yourself on a beach trip becomes more than decor it becomes a memory you can hold in your hands.
Beyond sentimentality, seashell picture frames also fit beautifully into a wide range of interior styles. They work in classic coastal or nautical spaces, but they also complement bohemian, cottagecore, and even minimalist aesthetics when styled thoughtfully. If you are working on a broader coastal refresh, these frames pair naturally with other beach-inspired elements throughout your aesthetic home.
Materials You’ll Need to Make Seashell Picture Frames
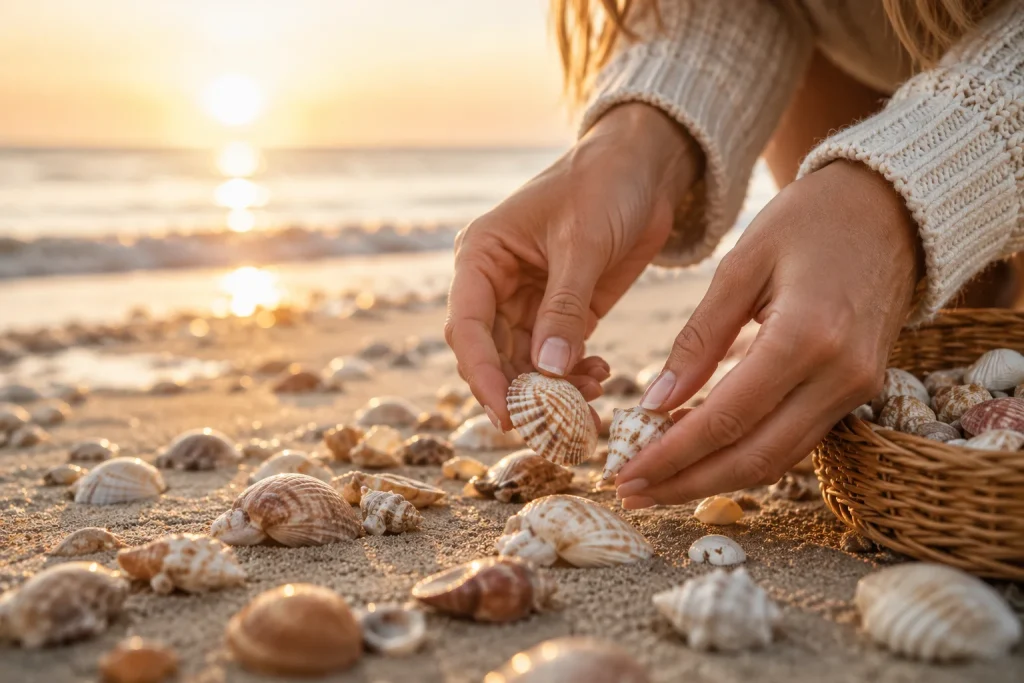
Before diving into the process, gather your supplies. Making seashell picture frames is a beginner-friendly project that requires only a handful of materials.
- A plain wooden or cardboard frame as your base
- An assortment of seashells in varying sizes and shapes
- Hot glue gun and glue sticks for secure adhesion
- Sandpaper to smooth rough frame edges before gluing
- Acrylic paint (optional) if you want to tint your frame beforehand
- Clear sealant spray to protect the finished piece
- Small embellishments like sea glass, pearls, twine, or starfish for extra detail
Many of these supplies overlap with other coastal DIY projects, so if you enjoy this kind of hands-on decorating, you may also love browsing more ideas in this collection of DIY decor projects.
Where to Find the Best Shells for Your Frame

The quality and variety of shells you use will make a big difference in how your finished frame looks.
Collecting Shells Yourself
Beach walks are the most rewarding way to gather shells, especially if you want your frame to hold personal meaning tied to a specific trip or location. Early morning walks after low tide tend to yield the best finds, since fresh shells wash ashore overnight.
Buying Shells in Bulk
If a beach trip is not in your near future, craft stores and online retailers sell bulk bags of cleaned, sanitized shells in a variety of shapes and sizes. This is a convenient option if you want a large quantity of uniform shells for a more polished, cohesive design.
Mixing Shell Types for Visual Interest
The most eye-catching seashell picture frames typically combine multiple shell varieties small spiral shells, flat scallop shells, and delicate fragments to create texture and visual depth rather than relying on a single repetitive shape.
How to Make a Seashell Picture Frame Step by Step
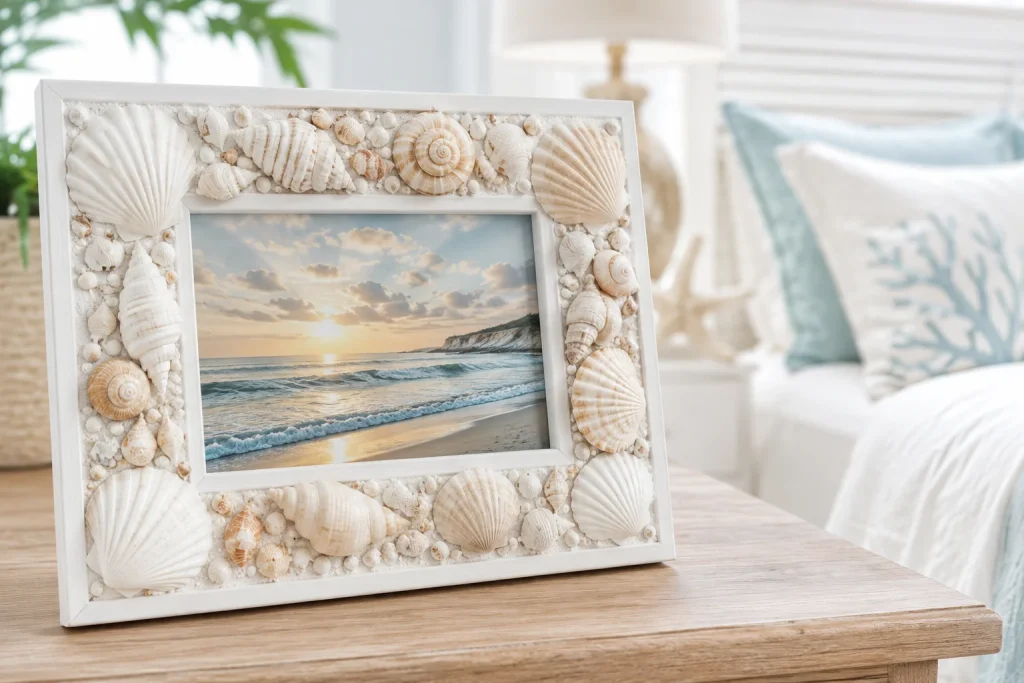
Ready to create your own? Follow these simple steps for a polished, professional-looking result.
Step 1: Clean Your Shells
If you collected shells from the beach, give them a thorough rinse and soak in a mixture of water and a small amount of bleach to remove any residue, sand, or odor. Let them dry completely before use.
Step 2: Prepare Your Frame Base
Sand down any rough edges on your frame and, if desired, apply a base coat of paint. White, cream, or soft blue tones work particularly well as a base for a coastal aesthetic, allowing the natural shell tones to stand out.
Step 3: Plan Your Shell Layout
Before gluing anything down, arrange your shells directly on the frame to experiment with placement. Consider starting with your largest shells first to establish an overall structure, then filling in gaps with smaller pieces.
Step 4: Glue the Shells in Place
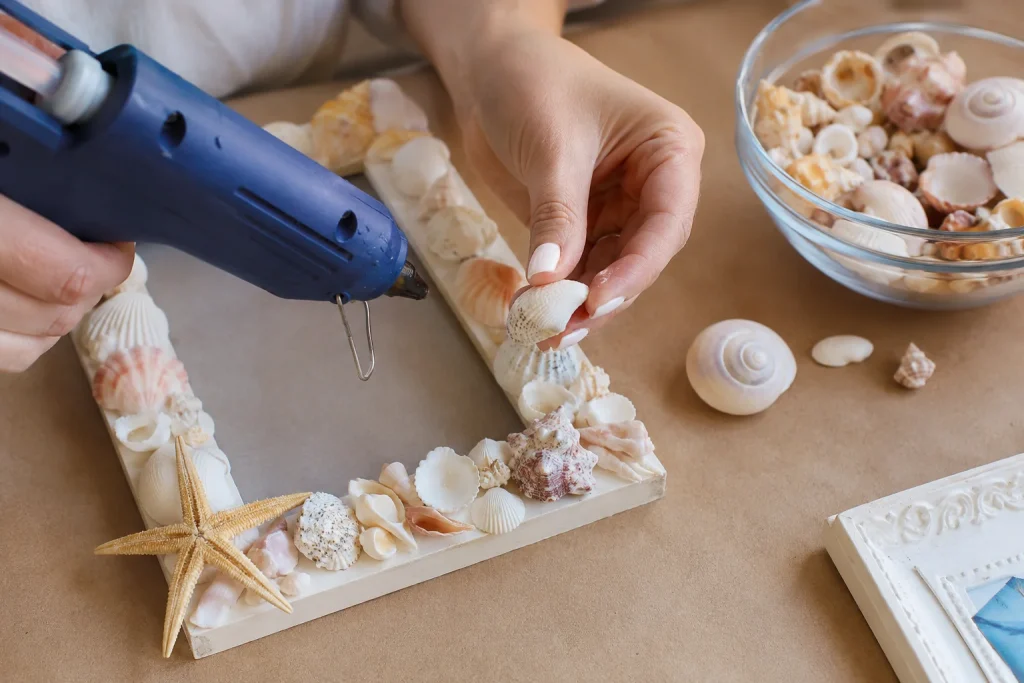
Working in small sections, apply hot glue to the back of each shell and press firmly onto the frame. Start from the outer edge and work inward, or vice versa, to maintain a balanced, intentional design.
Step 5: Fill Gaps and Add Accents
Once your main shells are secured, fill any visible gaps with smaller shell fragments, pearls, or sea glass. This step is what elevates a simple frame into a full, textured piece.
Step 6: Seal and Finish
Once the glue has fully dried, apply a clear sealant spray to protect the shells and give the frame a subtle, cohesive sheen. Allow it to dry completely before inserting your photo.
Popular Seashell Picture Frame Styles

There is no single “right” way to design a seashell picture frames the style you choose should reflect your personal taste and the room where it will live.
Classic White Coastal Frame
Using primarily white and cream-toned shells against a white base creates an airy, elegant look that fits beautifully into a blue and white bedroom or similarly serene coastal space.
Rustic Natural Frame
Leaving shells in their natural, unsorted colors and textures creates a more organic, beachy feel, perfect for a relaxed, lived-in coastal aesthetic.
Mixed-Media Frame
Combining shells with elements like driftwood, twine, sea glass, or small pebbles adds dimension and makes for a truly one-of-a-kind piece.
Monochrome Shell Frame
Using only one type of shell, such as small spiral shells or scallop shells, in a repeating pattern creates a more modern, minimalist take on the coastal frame trend.
Painted Shell Frame
For a playful twist, lightly painting select shells in pastel or metallic tones before gluing them down adds a unique, personalized touch that stands out from traditional natural-shell designs.
Styling Seashell Picture Frames in Your Home

Once your frame is complete, thoughtful placement will help it shine as part of your overall decor.
Bathroom Decor
A seashell frame feels right at home in a coastal-themed bathroom, especially paired with other ocean-inspired touches. These blue and white bathroom ideas offer great inspiration for building out a cohesive theme around your frame.
Bedroom Accents
Placed on a nightstand or dresser, a seashell frame adds a personal, textural element to a bedroom without overwhelming the space. It pairs especially well within an aesthetic bedroom that leans into soft, natural tones.
Entryway Display
A seashell frame near the entryway sets a welcoming, relaxed tone as soon as guests walk in. Consider pairing it with other coastal touches from this cottagecore entryway guide for a cohesive first impression.
Gallery Wall Feature
Seashell frames make a fantastic textural contrast when incorporated into a larger gallery wall. If you are planning a full wall display, these photo wall ideas can help you plan the layout around your handmade frame as a centerpiece.
Living Room Shelf Styling
On an open shelf or console table, a seashell frame adds warmth and personality alongside books, plants, or other decorative objects. Pair it with ideas from this living room inspiration to find a cohesive color story.
Seashell Picture Frames for Different Home Styles
While seashell frames are most closely associated with coastal decor, they can actually complement a surprising range of interior styles.
Coastal and Nautical Homes
This is the most natural fit, where seashell frames blend seamlessly with rope details, striped textiles, and ocean-inspired color palettes.
Bohemian Spaces
In a boho-styled room, seashell frames pair beautifully with natural textures like rattan, macrame, and woven baskets. For more ideas on building this aesthetic, take a look at this bohemian home decor guide.
Cottagecore Interiors
The natural, handmade quality of a seashell frame fits perfectly within the cottagecore aesthetic, which celebrates imperfect, nature-inspired charm.
Minimalist Homes
A monochrome or single-shell-type frame can actually work beautifully in a more minimalist space, adding just a touch of organic texture without disrupting a clean, pared-back aesthetic.
Creative Variations on Traditional Seashell Frames

If you want to put a unique spin on the classic seashell frame, consider these creative variations.
Ombré Shell Frames
Arrange shells so they transition gradually from light to dark, or from small to large, creating a subtle gradient effect across the frame.
Themed Vacation Frames
Label your frame with the name of the beach or trip where the shells were collected, turning it into a meaningful travel keepsake rather than a purely decorative object.
Mini Seashell Frames
Small frames, sized for a single photo or a favorite quote, make wonderful handmade gifts and are a great way to use up smaller or broken shell fragments.
Seasonal Shell Frames
Some crafters like to swap out or refresh their shell frames seasonally, incorporating small starfish or coral accents in summer and softer, muted tones in cooler months. If you enjoy rotating your decor throughout the year, these seasonal decor ideas offer plenty of inspiration for building a similar rotation into your home.
Seashell Picture Frames as Thoughtful Handmade Gifts

Handmade gifts carry a special kind of meaning, and seashell picture frames make wonderful presents for a variety of occasions.
Wedding and Anniversary Gifts
A seashell frame filled with a photo from a beach wedding or honeymoon makes a heartfelt gift for newlyweds, especially when personalized with the couple’s names or wedding date.
Housewarming Presents
For a friend moving into a coastal-inspired home, a handmade seashell frame is a thoughtful, budget-friendly housewarming gift that instantly adds character to a new space.
Teacher and Host Gifts
A small seashell frame, paired with a handwritten note, makes a lovely token of appreciation for a teacher, host, or anyone who has supported you throughout the year.
Kids’ Craft Projects
Making seashell frames together as a family activity is a wonderful way to involve children in a hands-on project, especially after a beach vacation when shells are freshly collected and the memories are still fresh.
Pairing Seashell Picture Frames With Other Coastal Decor Elements
A single seashell frame can be a lovely accent, but pairing it thoughtfully with other coastal-inspired pieces creates a more cohesive, intentional design throughout your home.
Woven and Natural Textures
Seashell frames pair beautifully with rattan, jute, and other woven textures, creating a layered, natural look that feels effortless rather than overly themed.
Soft, Sandy Color Palettes
Sticking to a palette of whites, creams, soft blues, and sandy neutrals throughout the surrounding decor helps a seashell frame feel like a natural extension of the room rather than an isolated accent piece.
Botanical Accents
Pairing a seashell frame with a few simple houseplants can soften the overall look and add a sense of freshness. If you are curious about which plants thrive best indoors, this guide to indoor house plants is a great place to start.
Layered Wall Art
Combining a seashell picture frames frame with other wall art, such as framed prints or woven wall hangings, adds depth and visual interest. These diy wall art ideas offer plenty of inspiration for building out a layered, personal gallery alongside your seashell picture frames piece.
Displaying Multiple Seashell Frames Together
If you have collected shells from several different trips, displaying multiple frames together can tell a broader story throughout your home.
Cluster Arrangements
Grouping two or three seashell frames of varying sizes on a single wall or shelf creates a cohesive cluster that feels curated rather than scattered.
Matching Sets
Creating a set of frames using the same shell types and color palette, but in different sizes, adds a sense of intentional design to a gallery display.
Mixed Memory Displays
Combining seashell picture frames from different vacations, each labeled with its respective location, creates a personal travel timeline that guests will love hearing the stories behind.
For those working on a larger decorating project that spans an entire room, incorporating a few seashell picture frames into a broader room makeover can help tie together a cohesive coastal theme without overwhelming the space with a single overpowering element.
Common Mistakes to Avoid When Making Seashell Picture Frames
- Skipping the cleaning step. Unwashed shells can carry odor or bacteria over time, so always clean and dry shells thoroughly before use.
- Using too much glue. Excess hot glue can ooze out from under shells, creating a messy, unprofessional look. Apply glue sparingly and precisely.
- Overcrowding the frame. While full coverage looks great, leaving a few intentional gaps or varying shell density can actually create a more natural, dynamic design.
- Ignoring frame weight. A heavily shelled frame can become surprisingly heavy, so make sure your hanging hardware or easel stand can support the extra weight.
- Forgetting to seal the finished piece. Without a protective sealant, shells can become brittle or discolored over time, especially in humid environments like bathrooms.
Caring for and Maintaining Your Seashell Picture Frame
To keep your seashell picture frames looking beautiful for years to come, a little routine care goes a long way.
Dust Regularly
A soft brush or a can of compressed air works well for removing dust from the crevices between shells without risking damage.
Avoid Excess Moisture
While seashell picture frames can handle some humidity, prolonged exposure to moisture, such as direct placement near a shower, can weaken the glue bond over time.
Reapply Sealant as Needed
Every year or two, especially for frames displayed in sunnier or more humid spaces, a fresh coat of clear sealant helps maintain the shells’ color and structural integrity.
Handle with Care During Cleaning
When dusting or moving the frame, handle it by the solid frame edges rather than gripping individual shells, which can loosen over time with repeated handling.
Budget-Friendly Tips for Seashell Picture Frame Projects
Seashell picture frames are already one of the more affordable DIY projects, but there are a few extra ways to keep costs even lower.
- Collect shells for free during a beach visit rather than purchasing them
- Reuse an old frame you already own instead of buying a new one
- Buy craft supplies in bulk if you plan to make multiple frames as gifts
- Skip the paint step and let the natural wood or shell tones shine on their own
For more ways to decorate your home without overspending, this collection of budget decor ideas offers plenty of additional inspiration that pairs well with a handmadeseashell picture frames project.
Frequently Asked Questions About Seashell Picture Frames
How do I clean seashells before using them in a frame?
Rinse shells thoroughly with water, then soak them briefly in a diluted bleach solution to remove odor and bacteria, followed by a final rinse and full air-drying before use.
What is the best glue for attaching shells to a frame?
A hot glue gun is generally the easiest and most secure option for attaching shells, though a strong craft adhesive can also work well for smaller or lighter pieces.
Can I make a seashell picture frame without a beach trip?
Yes, craft stores and online retailers sell pre-cleaned bulk shells, making it easy to create a beautiful frame even if you do not live near the coast.
How do I keep my seashell frame from looking cluttered?
Planning your shell layout before gluing, using varying shell sizes intentionally, and leaving small gaps between clusters can help create a balanced, uncluttered design.
Are seashell picture frames durable?
With proper sealing and care, seashell frames can last for many years, though they should be handled gently and kept away from excessive moisture when possible.
Do seashell picture frames work well in humid rooms like bathrooms?
Yes, as long as they are properly sealed with a clear protective spray. Reapplying sealant periodically helps the shells hold up well against bathroom humidity over time.
What size frame works best for a first-time seashell project?
A small to medium frame, around 4×6 or 5×7 inches, is ideal for beginners since it requires fewer shells and is easier to manage while you get comfortable with the layout and gluing process.
Final Thoughts
Seashell picture frames are a beautiful reminder that some of the most meaningful decor comes from simple, handmade projects rather than store-bought perfection. Whether you are preserving memories from a beloved beach vacation or simply want to bring a touch of coastal charm into your home, a seashell picture frames offers an affordable, creative way to do both.
With just a few basic materials and a little patience, you can create a piece that feels personal, textural, and completely unique to your home. Once you finish your first frame, do not be surprised if you find yourself planning your next beach trip with an eye toward collecting even more shells for your next coastal decor project.


